Vendor Directory in Lumabill
A well-maintained vendor directory makes expense tracking easier and gives you a clear overview of your business relationships. In Lumabill, you can centrally manage your vendors (creditors) and use them directly when recording expenses.
Note: Vendor management is a PRO feature and part of the Expenses module.
Creating a New Vendor
Navigate to Expenses > Vendors in the dashboard and click New Vendor. Fill in the following details:
Required Fields
- Name -- The company name of the vendor (e.g., "Office Supplies Ltd").
Optional Fields
- Address -- Street, postal code, city, and country.
- Contact Person -- Name of the primary contact.
- Email -- Contact email address.
- Phone -- Phone number.
- Website -- Company website URL.
- VAT Number -- The Swiss VAT number of the vendor (format: CHE-XXX.XXX.XXX MWST).
- IBAN -- Bank account for payment matching.
- Notes -- Internal remarks about the vendor.
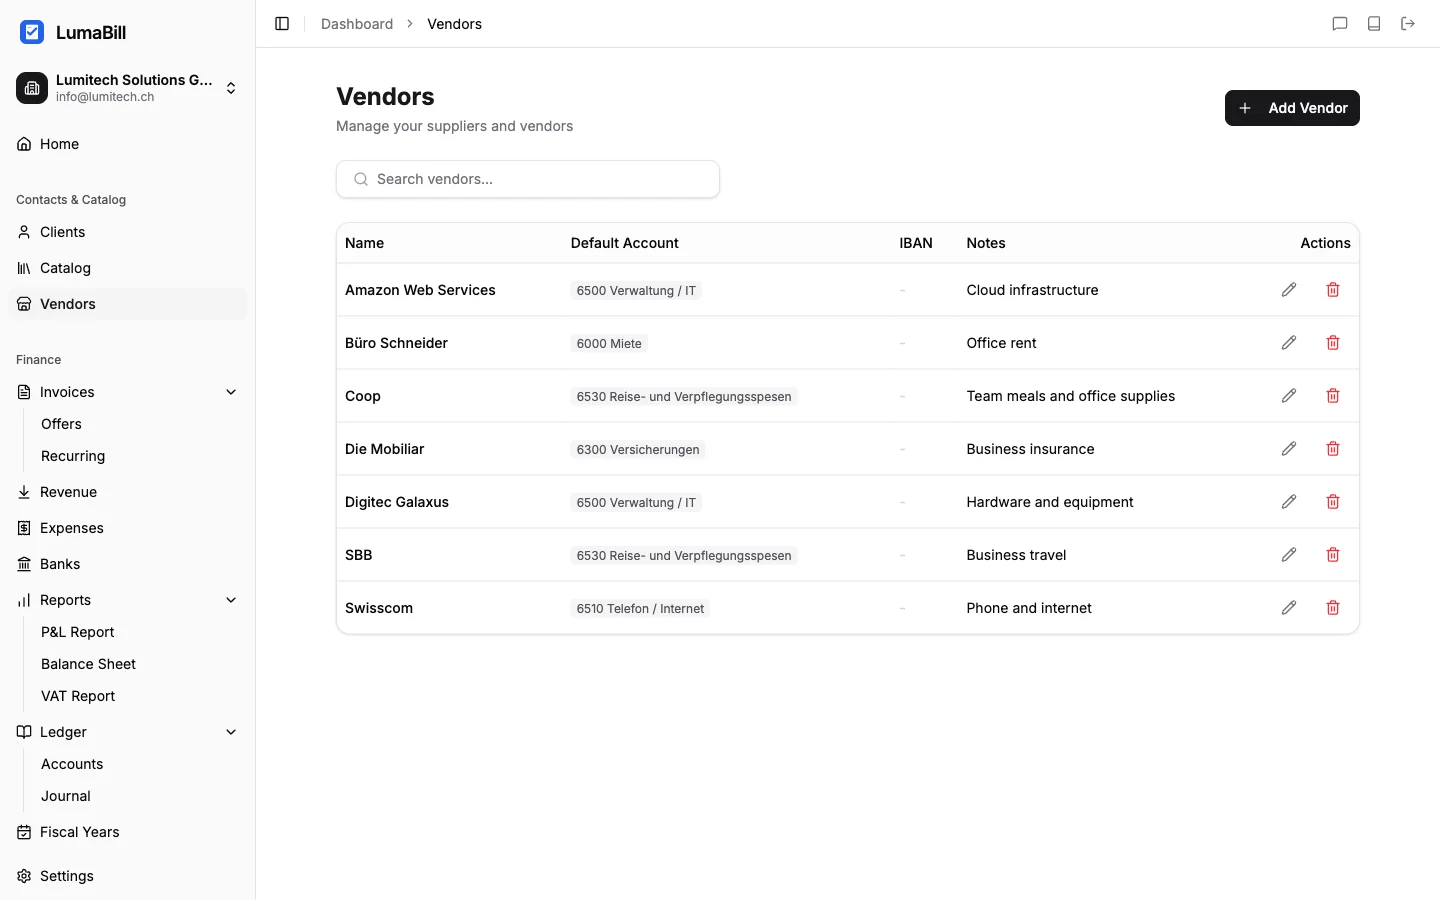
Vendor Overview
The vendor list displays all saved vendors with their name, location, and the number of linked expenses. Use the search function to quickly find a specific vendor.
Editing a Vendor
Click on a vendor to edit their details. All changes are saved immediately and apply to previously linked expenses as well.
Deleting a Vendor
Click the delete icon to remove a vendor. Vendors linked to existing expenses cannot be deleted. Remove the link in the associated expenses first.
Using Vendors When Recording Expenses
When creating a new expense, you can search for existing vendors in the Vendor field. Select the matching vendor from the list. If the vendor does not exist yet, you can create one directly in the expense form without interrupting your workflow.
Vendors and Receipt Scanning
When using the AI receipt scanning feature, Lumabill attempts to automatically recognize the vendor and match it to an existing entry in your directory. If no match is found, you can select the vendor manually or create a new one.
Per-Vendor Analytics
In the vendor detail view, you can see:
- Total amount of all expenses with this vendor.
- Number of expenses in the selected period.
- Last expense -- Date and amount of the most recent expense.
This information helps you identify your largest cost items and analyze vendor relationships.
Bookkeeping Integration
In double-entry bookkeeping, each vendor is automatically assigned a creditor account. This lets you track outstanding payables per vendor and simplifies payment reconciliation.
Tips
- Record your vendors' VAT numbers -- this makes input tax deductions easier.
- Keep addresses up to date so payment receipts are matched correctly.
- Use the notes field for internal references like your customer number with the vendor.
What's Next?
- Tracking Expenses -- Link expenses to your vendors.
- Receipt Scanning -- Let vendors be recognized automatically.
- Bank Reconciliation -- Match payments with vendor invoices.